The Organizer
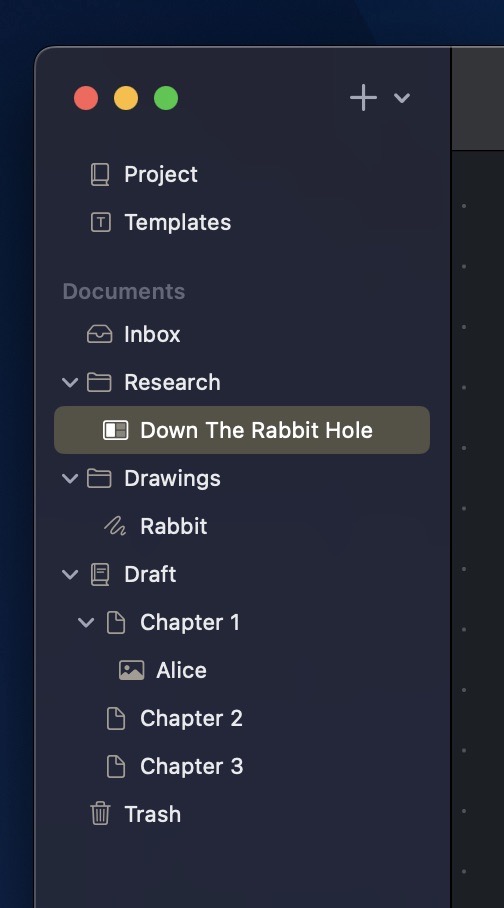
The Organizer on macOS
The Organizer is the navigation hub for your entire project, displaying a hierarchical outline of all your content.
The Organizer appears as a persistent sidebar on Mac and iPad, or as the root navigation view on iPhone. Expansion and collapse states persist across sessions, so your Organizer always looks the way you left it.
Built-in Locations
Every project includes two permanent locations:
- Inbox — The default home for new or unplaced documents. Documents created at the root level appear here.
- Trash — A review step before permanent deletion. Documents in the Trash can be restored or permanently removed with the Empty Trash action.
Default Folders
New projects include Draft and Research folders by default. These are starting suggestions — they can be renamed, moved, nested, or deleted entirely. You can disable their automatic creation in Settings > General.
Workspace Locations
The Organizer provides access to two workspace areas:
- Project — Your main document workspace containing all project content
- Templates — Browse and manage document templates. See Templates for details.
Getting Around (iPhone & iPad)
The Organizer's leading toolbar button is a Back to Projects menu:
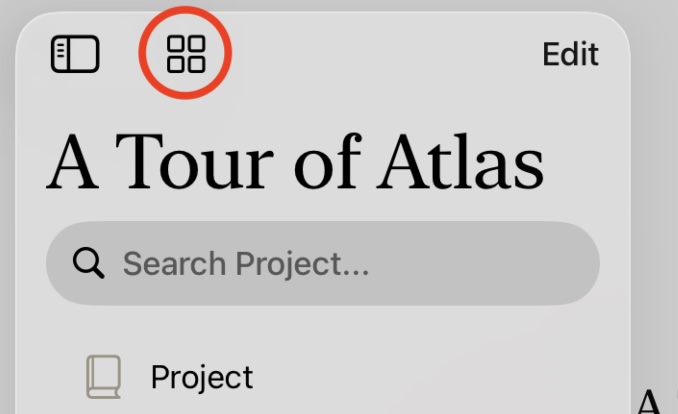
The Organizer on iPadOS showing the back to projects button
- All Projects — return to your project list
- New Window — open the project in a new window (iPad)
- Help & Feedback — open Atlas Help, report feedback, or join the community
- Settings — open app settings
A separate Project Settings button () opens Project Settings and the project export options.
Organizing Content
Drag-and-drop reordering — Drag documents to rearrange them. Placement is position-aware: drop above, below, or inside a target document.
Context menu — Right-click (Mac) or long-press (iPad/iPhone) on any document for actions including:
- Create a new text document, folder, or canvas
- Import files or photos
- Move to… another location, or to a different project
- Duplicate
- Move to Trash (or restore from Trash)
- Export
The + button — Tap the add button in the Organizer toolbar to:
- Create a new document or folder
- Add media from Files or Photos
External drops — Drag files, media, and URLs from Finder, Files, or other apps directly into the Organizer to import them into your project.
Reading Documents Continuously
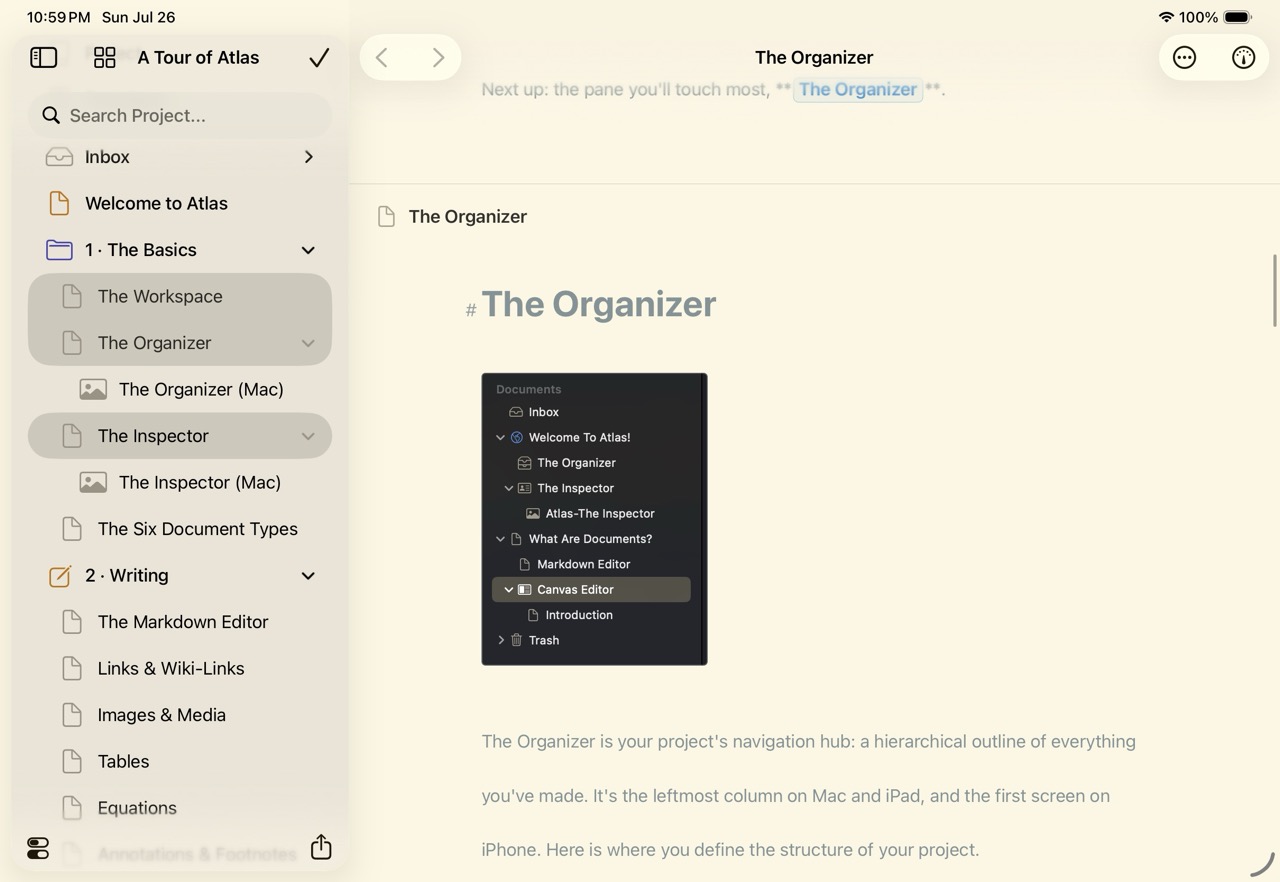
Continuous Mode on iPad OS
Instead of opening documents one at a time, you can browse and edit several at once stacked top to bottom in a single scrolling view. It's built for reading or editing a run of related documents (a sequence of chapters, a folder of research notes) without returning to the Organizer between each one.
Starting continuous browsing
On Mac it's automatic: select two or more documents in the Organizer (Cmd+Select or Shift+Select) and they open together in one scrolling view. Select a single document and you're back to the normal editor — there's no mode to turn on.
On iPad there are three ways in:
- In Edit mode, select two or more documents and tap the View Continuously button ().
- Long-press the Edit button, choose Continuous, then select your documents.
- Drag two fingers across document rows to sweep up a run of them — they open continuously as you go.
On iPhone, enter Edit mode, select two or more documents, and tap the View Continuously button ().
What you see
Documents appear in Organizer order, each headed by its title and icon. Text documents are editable inline — write in any of them without leaving the view. Other types (canvases, sketches, media, web pages) show a labeled placeholder band so you know they're there; open them on their own to edit. A thin divider marks each document boundary, and the headings fade in as you scroll so you always know where you are.
The writing aids from the single-document editor work here too: turn on Focus Mode and Typewriter Scrolling from the More () menu on iPhone and iPad, or the Editor menu on Mac.
The Inspector adapts too: with several documents open it shows a Selected Documents list along with the tags and metadata shared across the set. See The Inspector.
Leaving continuous browsing
On Mac, select a single document again. On iPhone and iPad, tap Done — the view collapses to whichever document you were reading.
Moving and Duplicating
Drag-and-drop is the quickest way to rearrange nearby items, but the Move to… menu relocates documents precisely — handy on iPhone, when moving across a large project, or when several documents are selected at once. It's available from the context menu in both the Organizer and the Folder Outline View, on a single document or a multi-document selection.
Moving within a project
Choose Move to… and pick a destination from the submenu — the Inbox or any folder in the current project. The selection moves there, bringing any nested children along with it.
Duplicating
Atlas can copy a document instead of moving it, in two variants:
- Duplicate — Copies the document on its own.
- Duplicate with Children — Copies the document together with everything nested inside it.
The context menu offers Duplicate; on Mac, both variants are also in the menu bar.
Moving or duplicating across projects
To send documents to a different project, choose Move to… → To Project…. This opens the Move to Project sheet:
- Pick the destination under Project, then use the Filter locations field to narrow the list and choose where inside that project the documents should land.
- Set Action to Move (remove the originals from the current project) or Duplicate (leave them in place).
- Under Options, turn on Transfer tags and Transfer metadata to carry those across — any tag or metadata field that doesn't already exist in the destination project is created automatically.
Children always travel with the document across projects, and media attachments come along too.
Note
Canvases and folders can't move or duplicate across projects — a canvas's cards and a folder's structure are tied to their original project, so the To Project… option doesn't appear for them. Move the individual documents inside them instead.
Keyboard Shortcuts
| Action | Shortcut |
|---|---|
| New Text Document | Cmd+N |
| New Folder | Cmd+Shift+N |
| New Project | Ctrl+Cmd+N |
| Toggle Sidebar | Ctrl+Cmd+S |
| Move to Trash | Cmd+Shift+Backspace |
See Also
- The Workspace — The full workspace layout
- Documents — The six document types you can create
- Using Folders — Folder structure and the Folder Outline View
- Importing Media and Web Pages — Bringing external content into your project